Your Christmas tree really isn’t complete without a Disney Mickey Mouse decoration.
Here we show you everything you need to know to make an easy DIY Mickey Mouse Ornament to add to your Christmas decorations this year!
Here are the supplies that you will need to make your homemade Disney Christmas Ornament:
- Clear Heavy Duty Round Glass Ornament

- Black Glitter
- Mod Podge
- Red Acrylic Paint
- 2 Yellow Buttons
- 2 Mini Black Glitter Ornaments
Fortunately all of these are available online if you don’t want to brave those Christmas shopping crowds. I like to start making my tree ornaments well before Christmas so that I can easily get into the Holiday spirit.
Tools
- Painters Tape
- Paintbrush
- Pliers
- Hot Glue Gun & Glue
- Small Paper Cup or Ramekin
- Small Funnel
Instructions to Make you DIY Mickey Mouse Christmas Ornament
Get all of your supplies and equipment together.
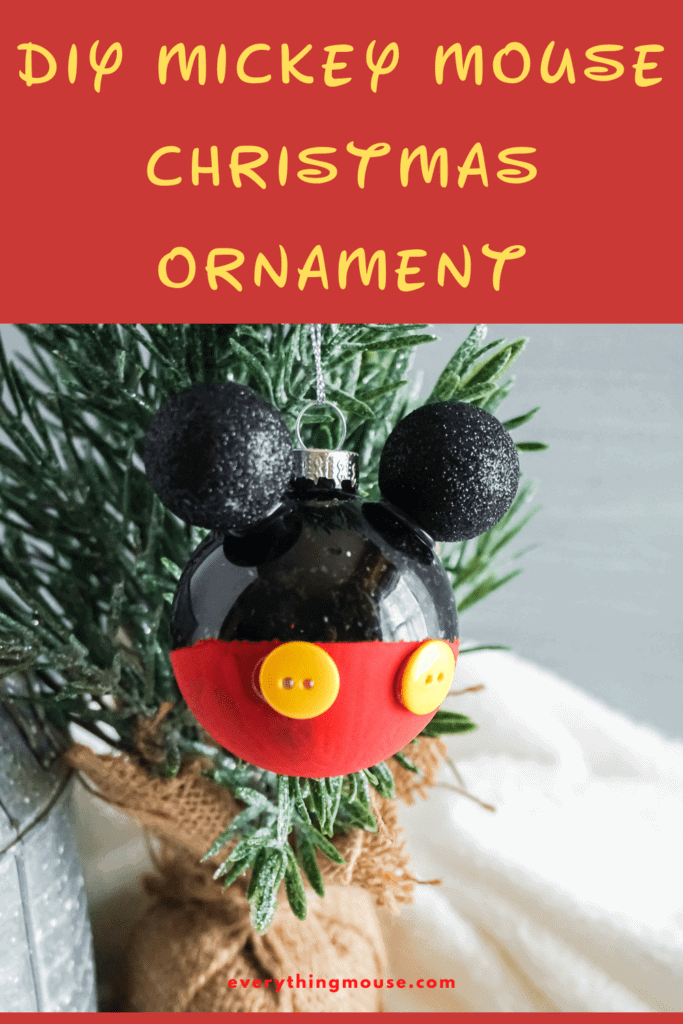
Start by removing the metal top from your 2 smaller black glitter ornaments. You can do this with pliers.
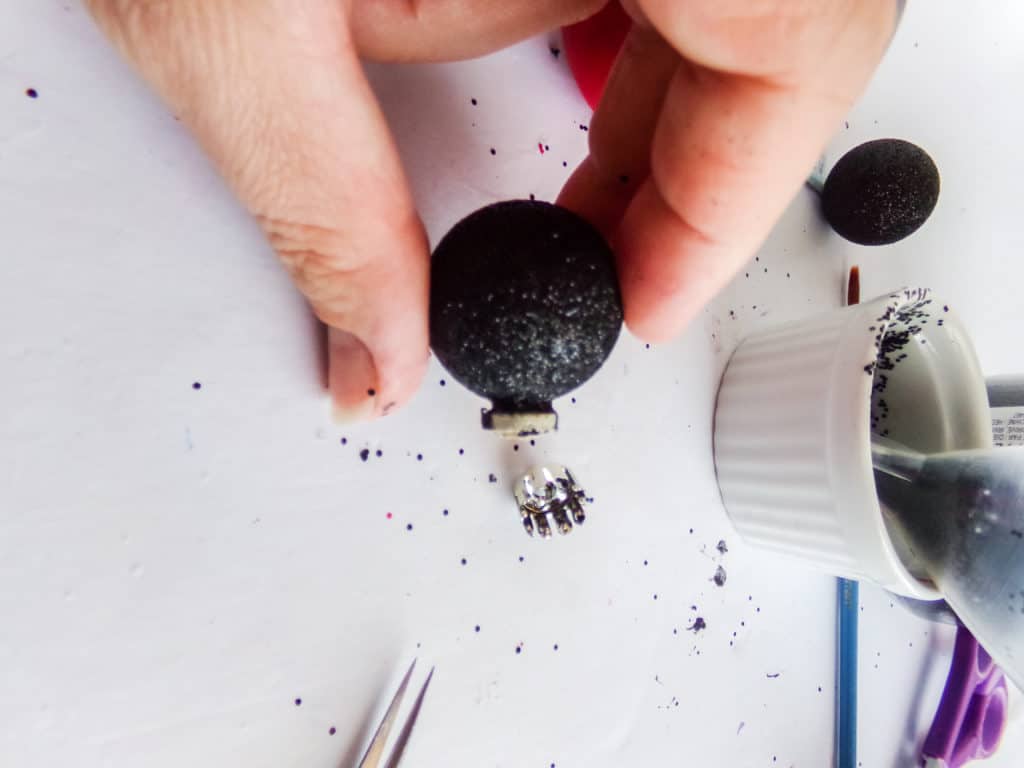
Next, using some scissors or pliers, cut the whole of the metal ornament neck to that it is removed completely.
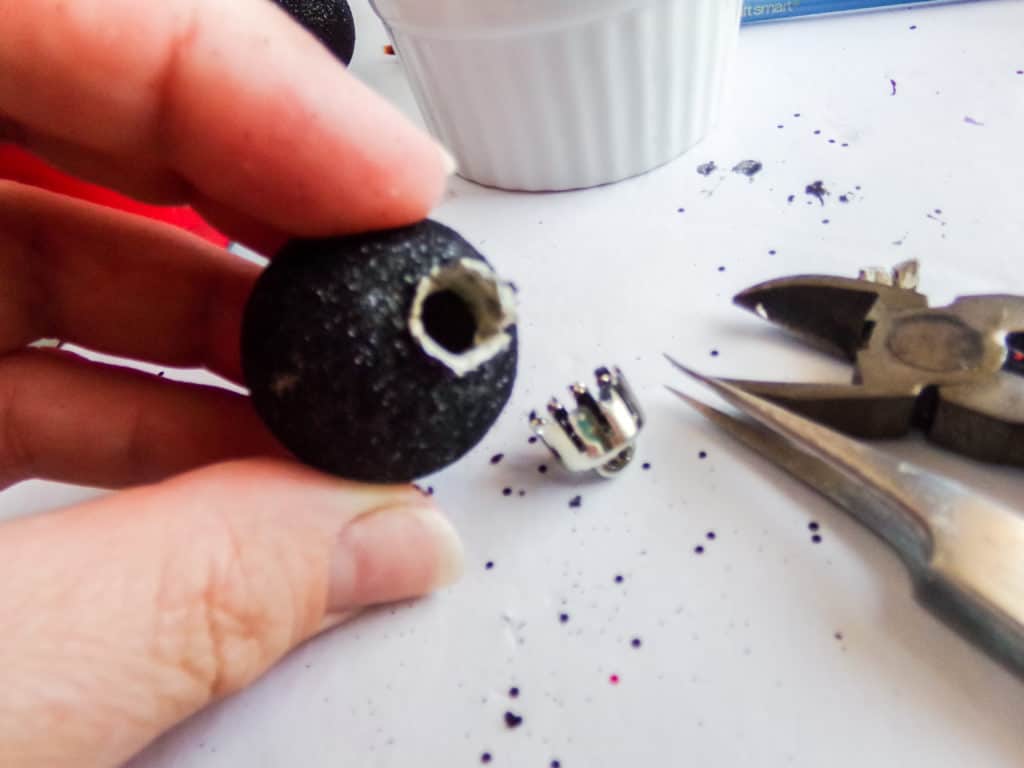
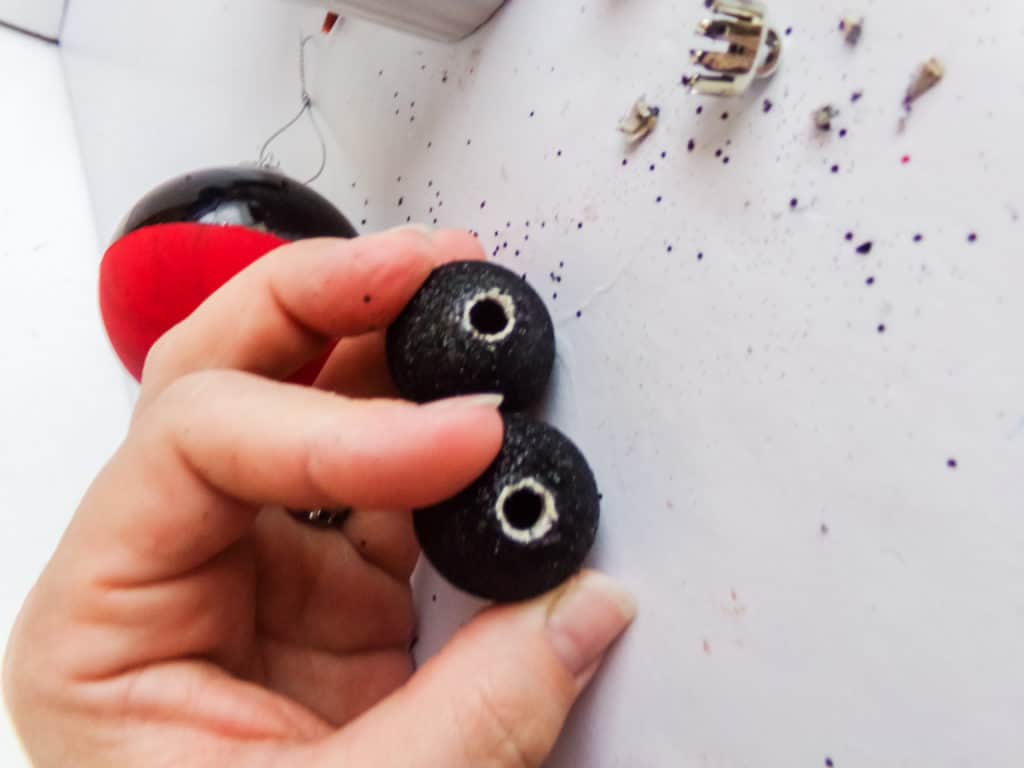
Repeat with the second ornament so that you now have the two parts that will make the Mickey Mouse ears part of your Christmas decoration.
Set them aside whilst you complete the next steps of the process.
Carefully remove the metal top of the clear bauble. You will be needing this later do try not to damage the metal. It is usually easily removed using pliers.
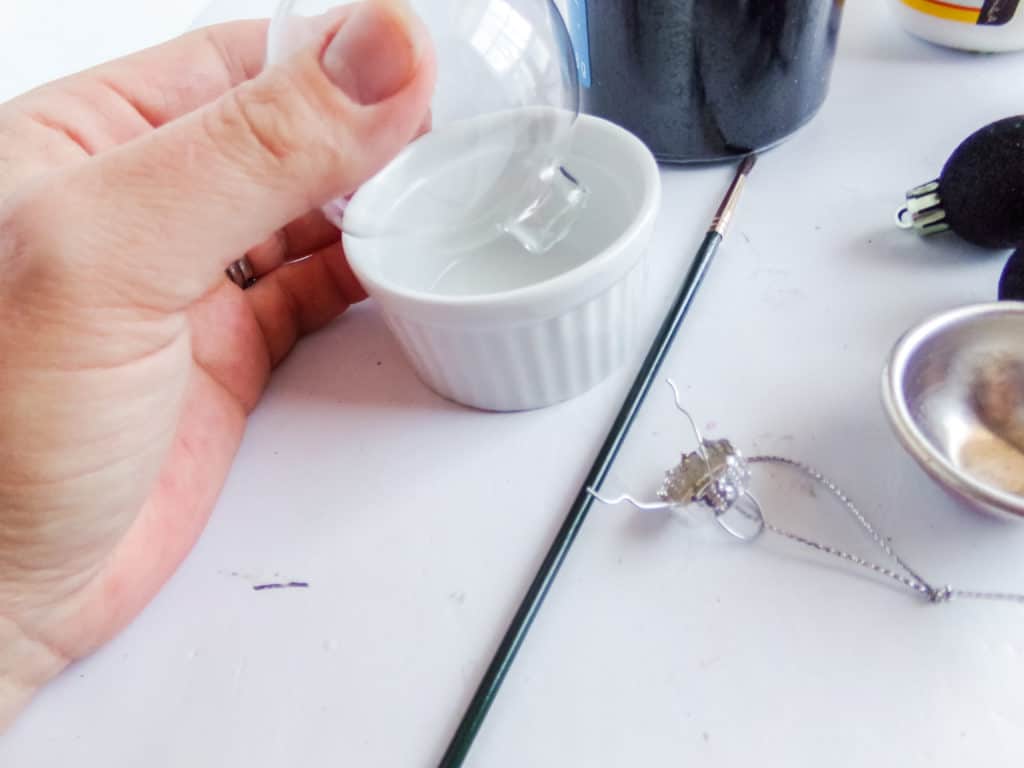
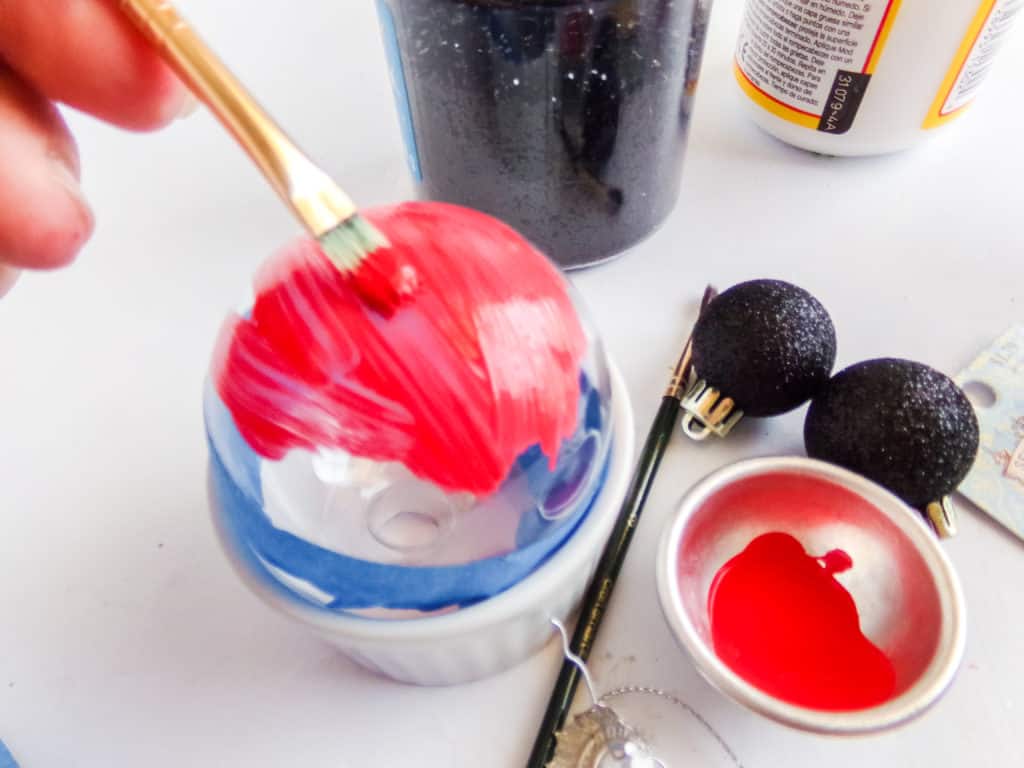
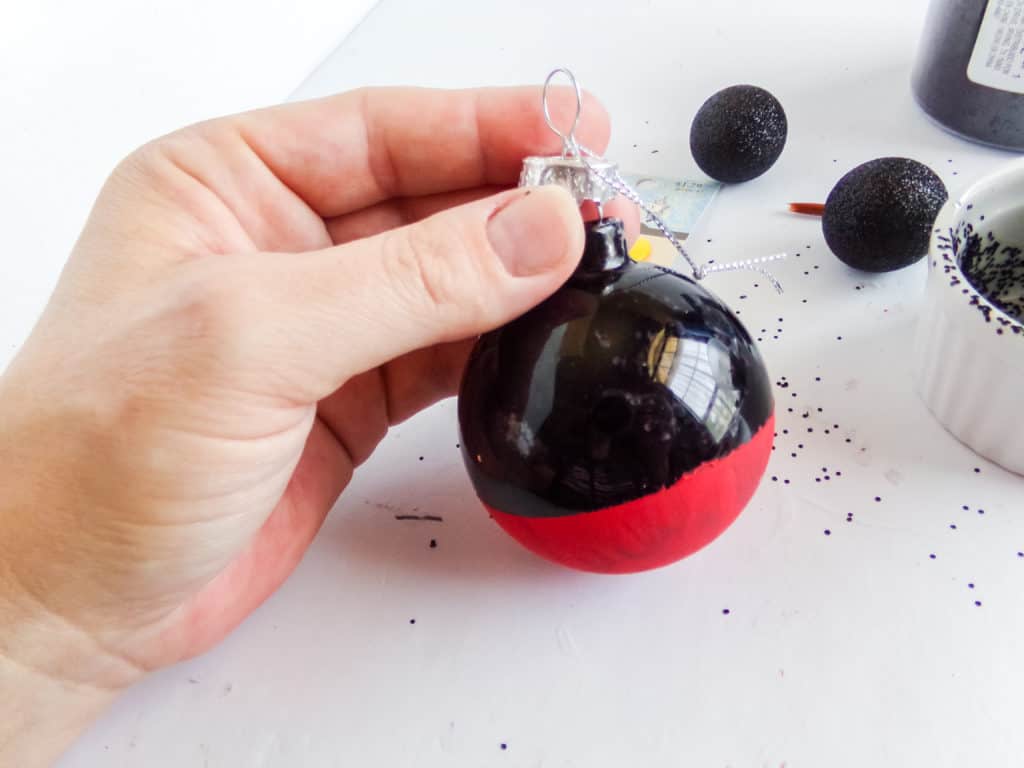
Start preparing the large clear ornament for painting. As this is going to be in the classic Mickey Mouse colors you need to tape the bottom half of the ornament with painters tape.
Draw a line around the middle of the ornament.
Add your tape so that the bottom half of the ornament is exposed and the top is partially taped. You want to be painting half of the ornament red.

So that you can paint the bottom half easily it’s a really good idea to use a ramekin or cup to balance the ornament in.
Paint the bottom of the ornament with the red paint.
Make sure that you allow the paint to dry completely.
I know it’s easy to get impatient – but the last thing you want it a thumb print in your paint to you have to start again!
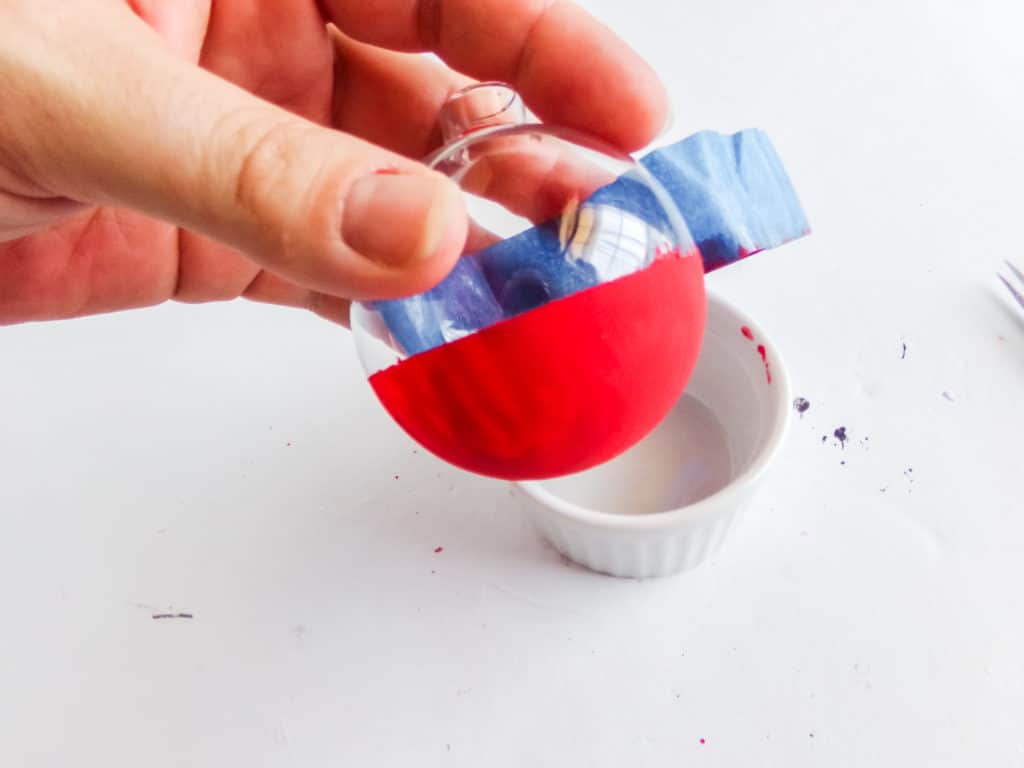
Once your red paint is completely dry you need to coat this in a thin layer of mod podge. Again, make sure that the mod podge is completely dry before you move onto the next step.
Once it is dry, remove the tape from the ornament.
The next step is to add the mod podge into the top of the ornament. You need to add 1 tablespoon of the mod podge – and the easy way to do this is by using your small funnel.
Then add the black glitter through the funnel
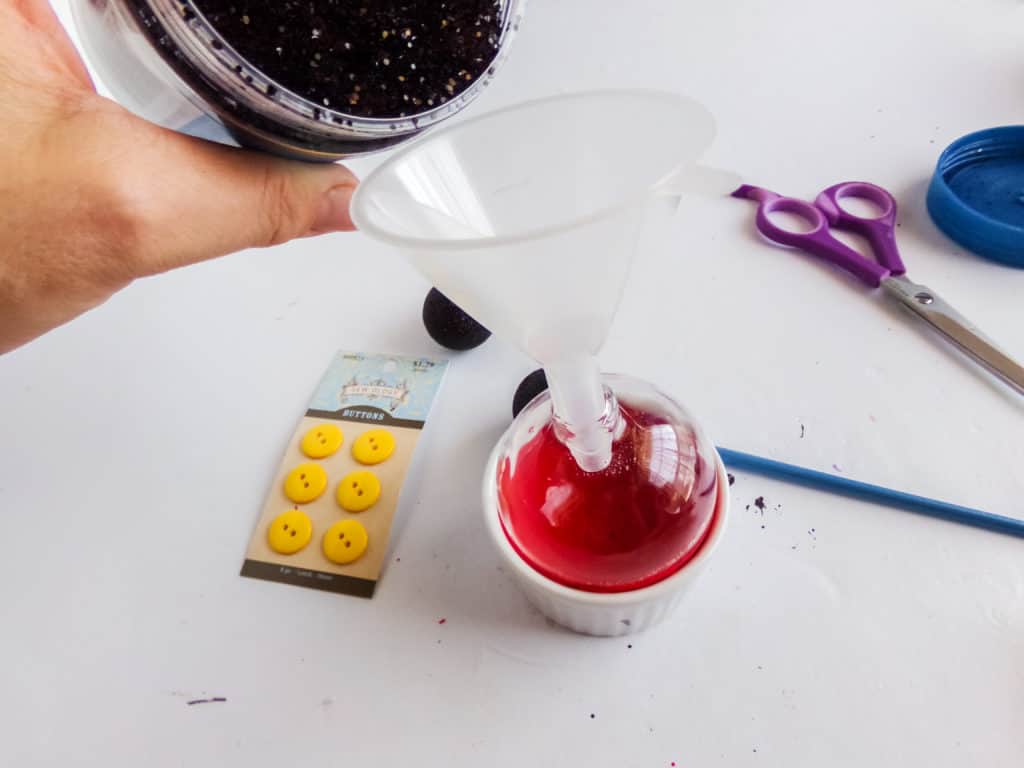
Swirl the mod podge and black glitter around until it completely covers the inside of the ornament.
Once this is dried, re attach the metal top to the ornament. You may need to use hot glue to secure it again.
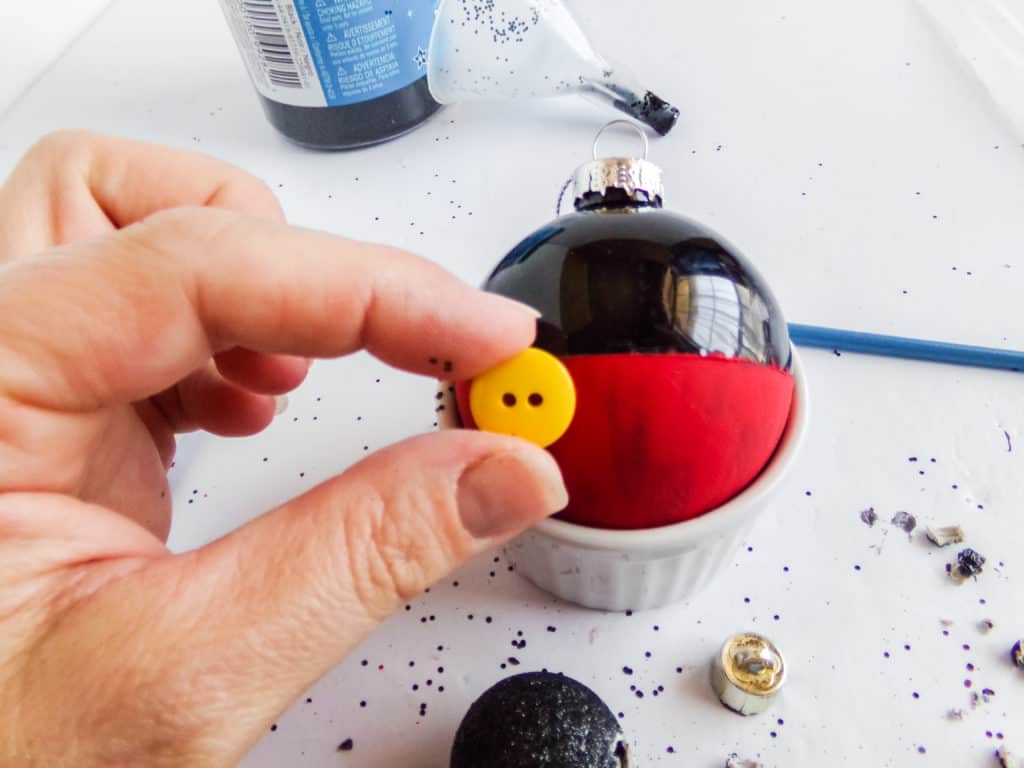
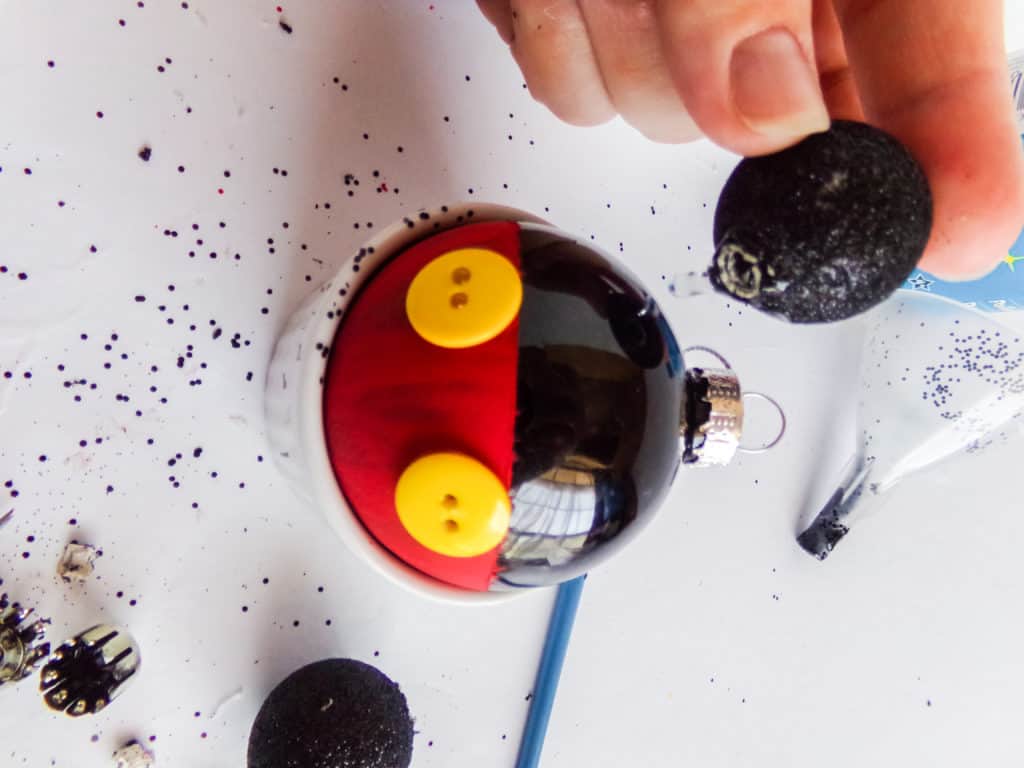
Next you need to hot glue the buttons on to the decoration.
Now it is time to glue on the Mickey Ears.
Using hot glue. attach the two small black glitter ornaments onto the side of the Mickey ornament.
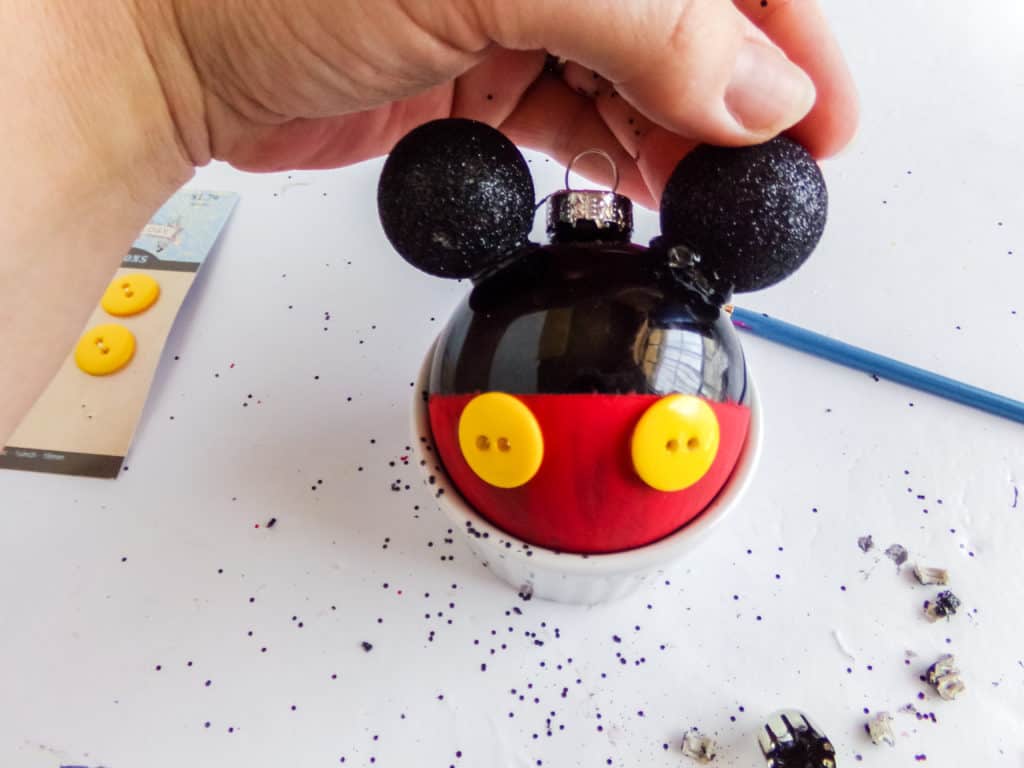
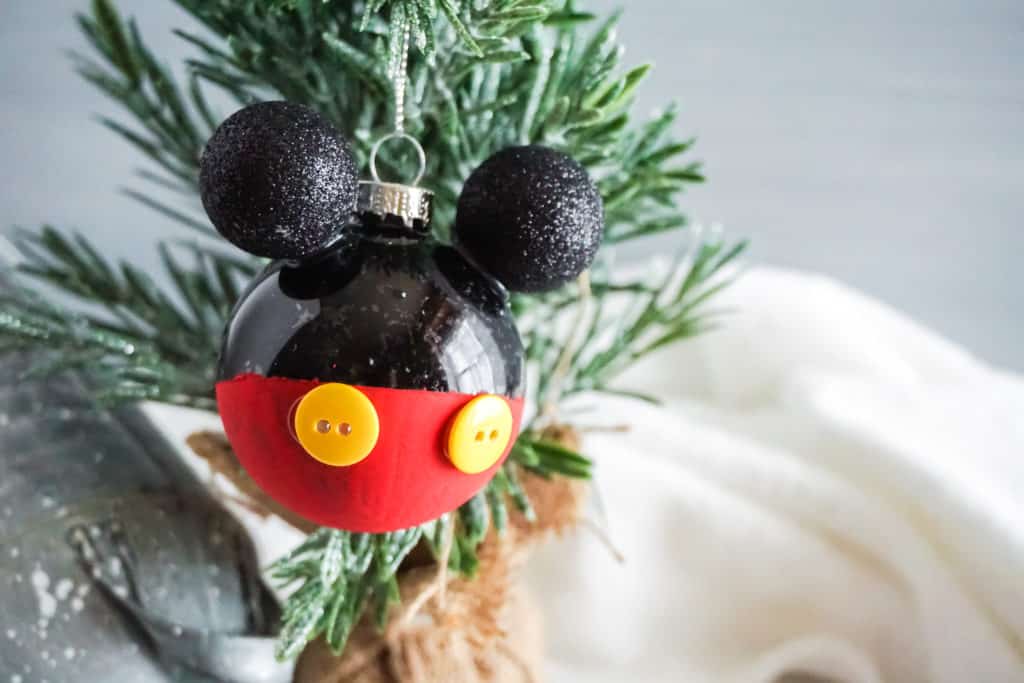
Now you have your own DIY Mickey Mouse Ornament ready to hang on your Christmas Tree!
You may also like Disney Mickey Mouse Pretzel Bites

Alison Meacham is the founder of EverythingMouse Disney Blog. For over 15 years she has shared her love of Disney Parks, Disney Cruises and Universal Orlando. In over 30 years of Disney Travel she has spent countless months in Disney Parks and has sailed on over 45 cruises. A British native and now a United States resident she splits her time between California, Florida and the UK. And spends a serious amount of time sailing the seven seas. She helps over 200,000 people per month follow their Disney travel dreams.