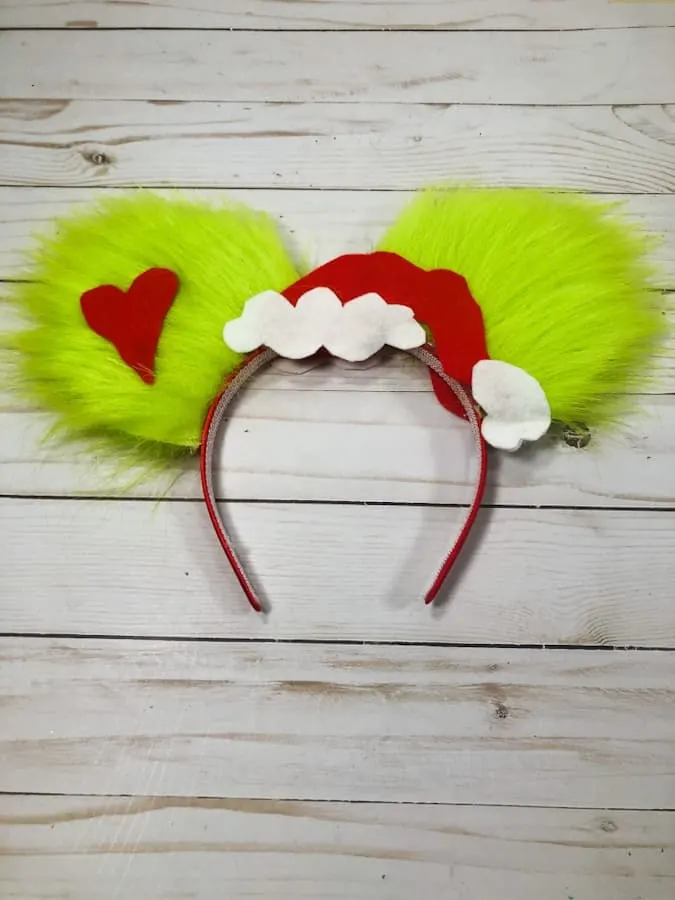
Do you want to learn how to make Disney Christmas Ears? Whilst it is always great to collect the Disney ears which they sell in the Disney Parks and on the Cruise Line, it is so satisfying to make you own Mickey ears!
Not only are these Disney Christmas ears easy to make, but they are also so much cheaper than the ones that you buy in the parks, which are usually around the $30 mark. Depending upon what materials you use, you can customize them to your own tastes. And you will probably still get quite a bit of change out of $10 – all whilst having fun making them!

HOMEMADE DISNEY CHRISTMAS EARS MATERIALS

This post contains some affiliate links for your convenience. If you buy something after clicking on a link I will earn a small commission, but it doesn’t cost you a penny more! For more details read my Disclosure
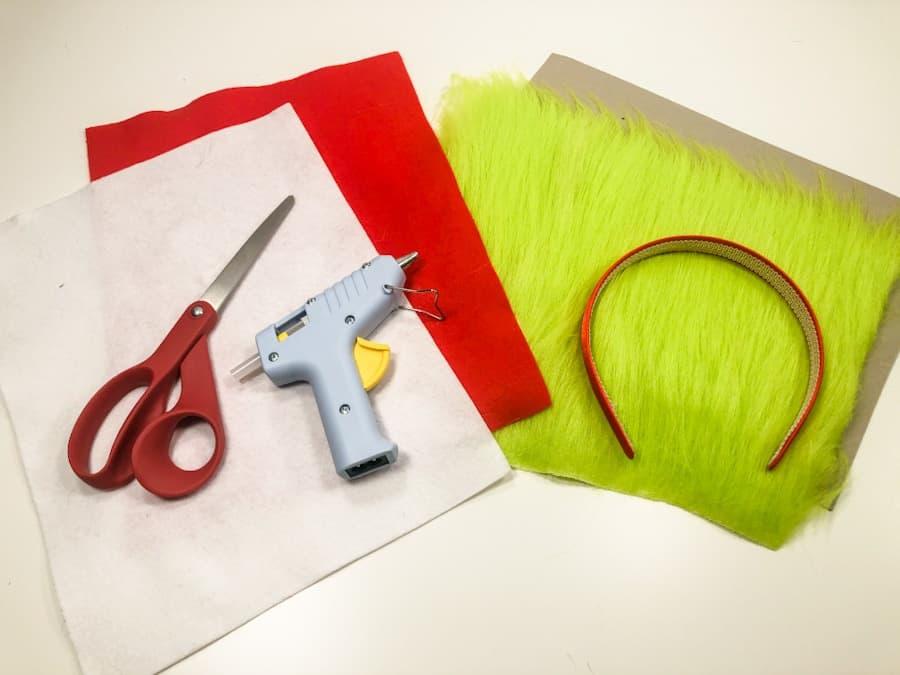
Disney Christmas Ears Supplies:
- Christmas Mickey Ears Template – see below
- Red Felt
- White Felt
- Lime green faux fur
- Scissors
- Permanent Fabric Marker
(optional)
- Hot Glue Gun
- Cardboard
- Headband
Instead of using a Hot Glue Gun you can also use Liquid Stitch. I have been using this a lot recently and it works really well.
HOW TO MAKE DISNEY CHRISTMAS EARS
Print template and cut out template pieces
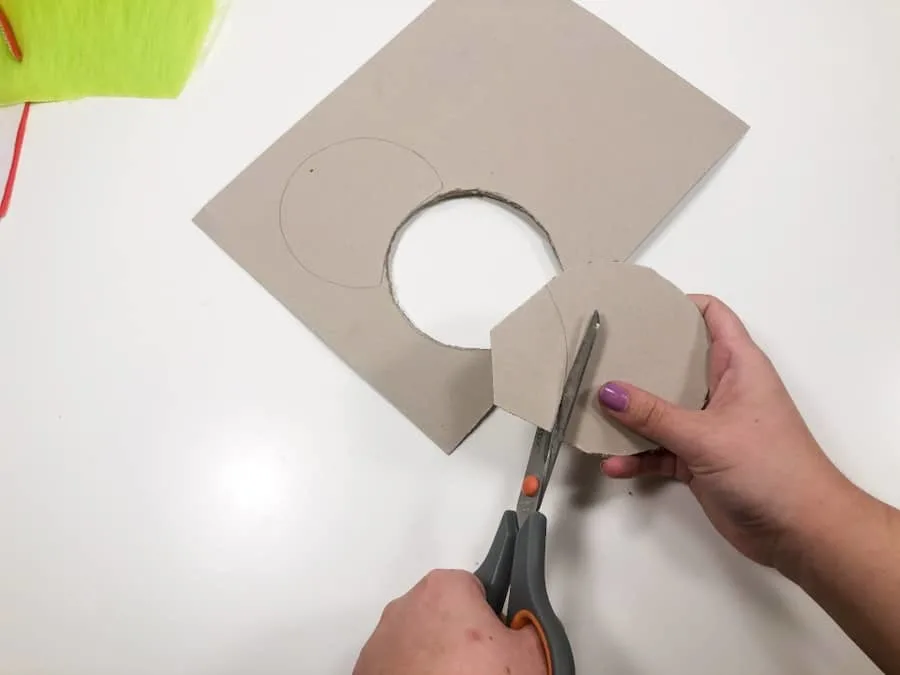
Trace ear template onto cardboard 2x and cut out on the lines

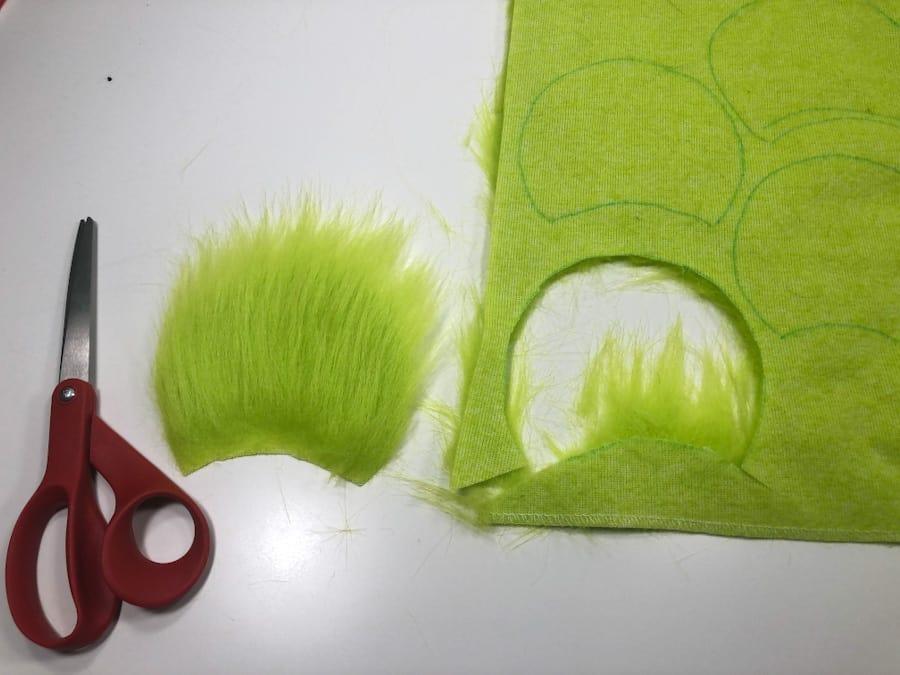
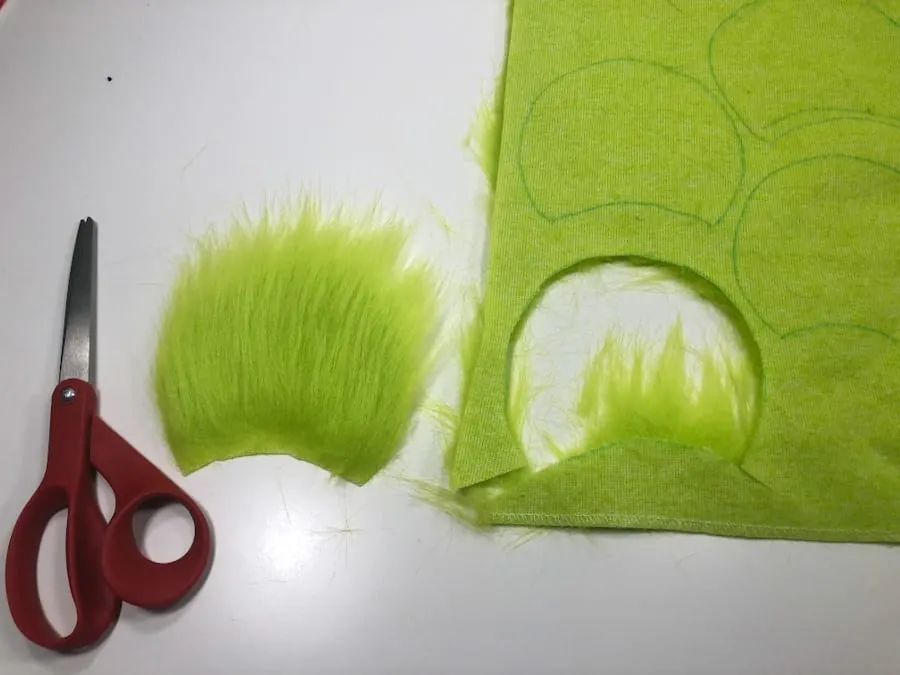
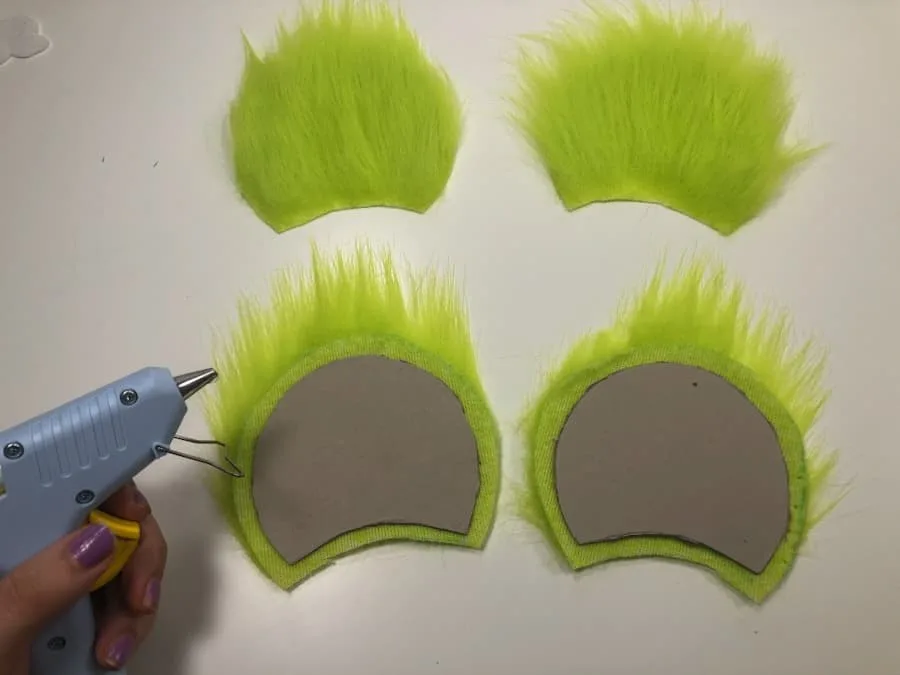
Trace ear template onto back of fur 4x with about ¼” allowance all the way around. Make sure they are all facing the same direction so that the fur is laying toward the top of the ear.
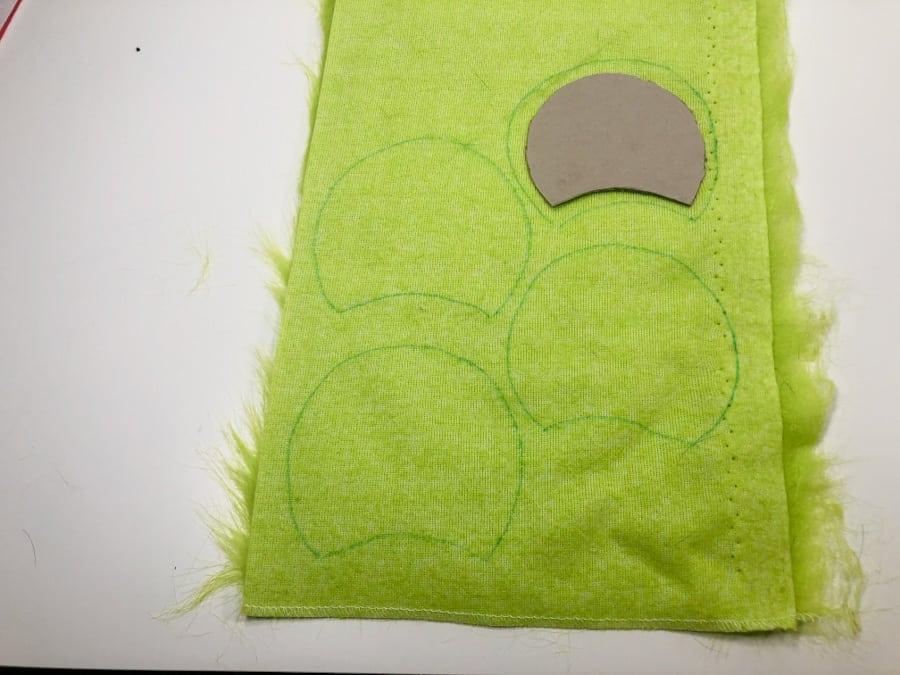

- Cut out the 4 fur ears starting with the lowest one and working your way up. If you work from the top down, the fur on the lower ears will be cut off.
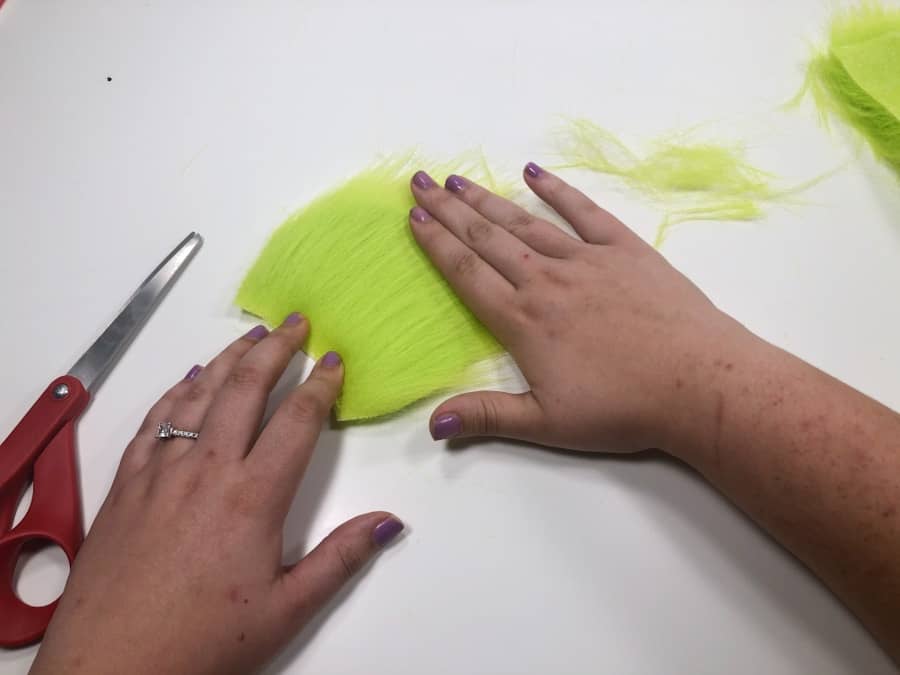
- Smooth down the fur with your hand to pull out any fibers that are no longer connected.

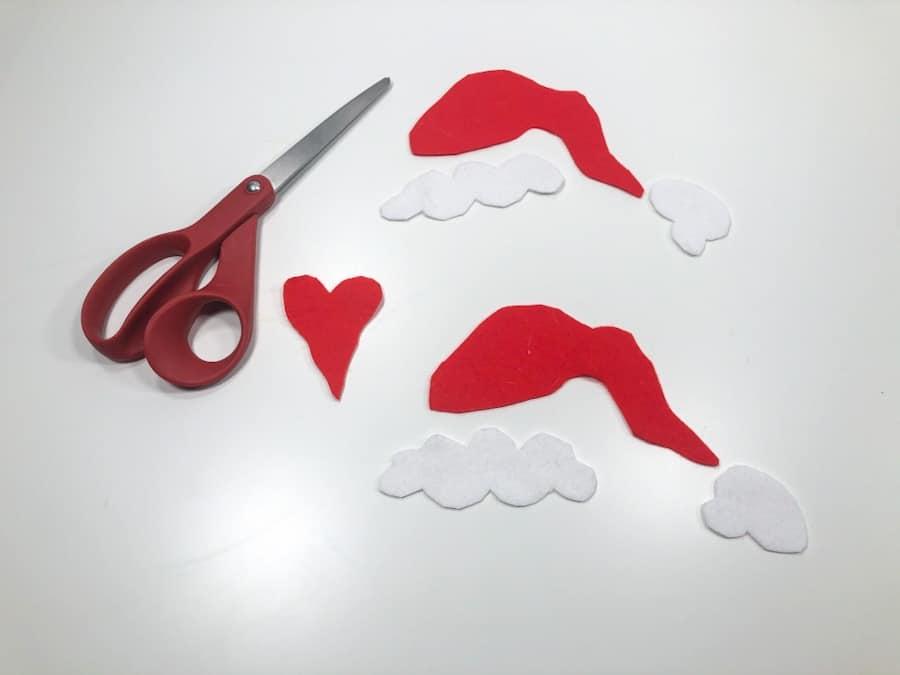
- Cut out one heart and 2 hats from red felt, and 2 each of the hat trim and Pom Pom from white felt.

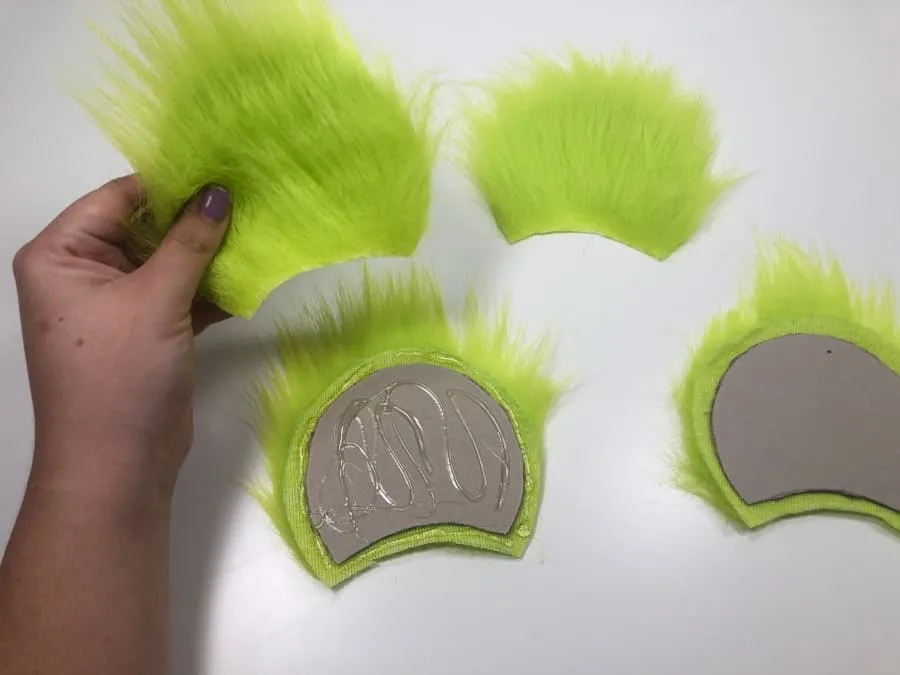
- Spread hot glue on one side of a cardboard template and press onto the center of the cloth side of a fur ear. Hold down for a few seconds to make sure it sticks.

- Spread hot glue onto the other side of the cardboard, this time also adding a line of glue around the very edge of the fabric. Press another fur ear into place on top of it to form a finished ear. Repeat for the second ear.

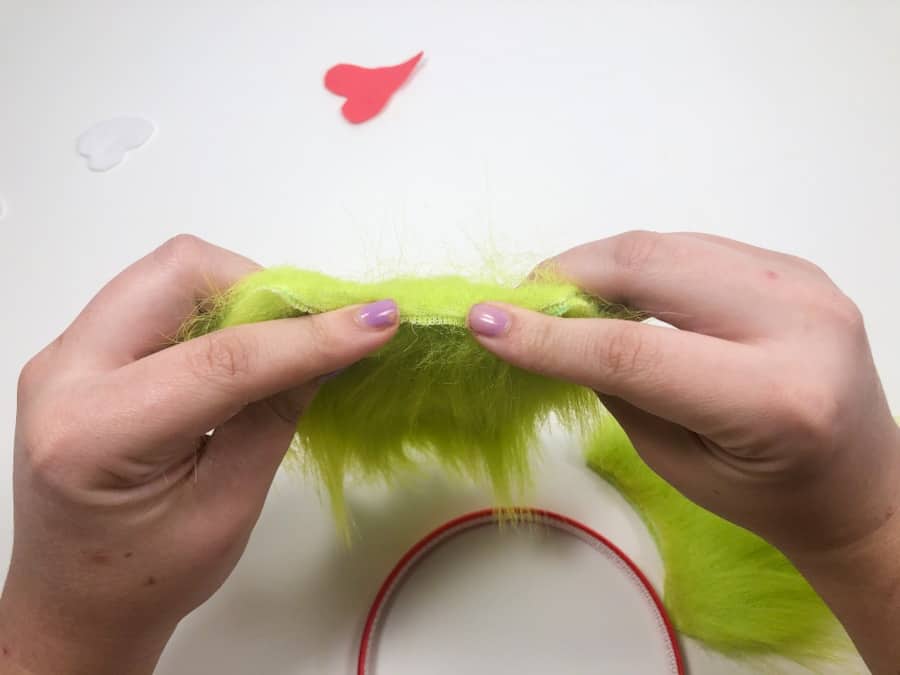
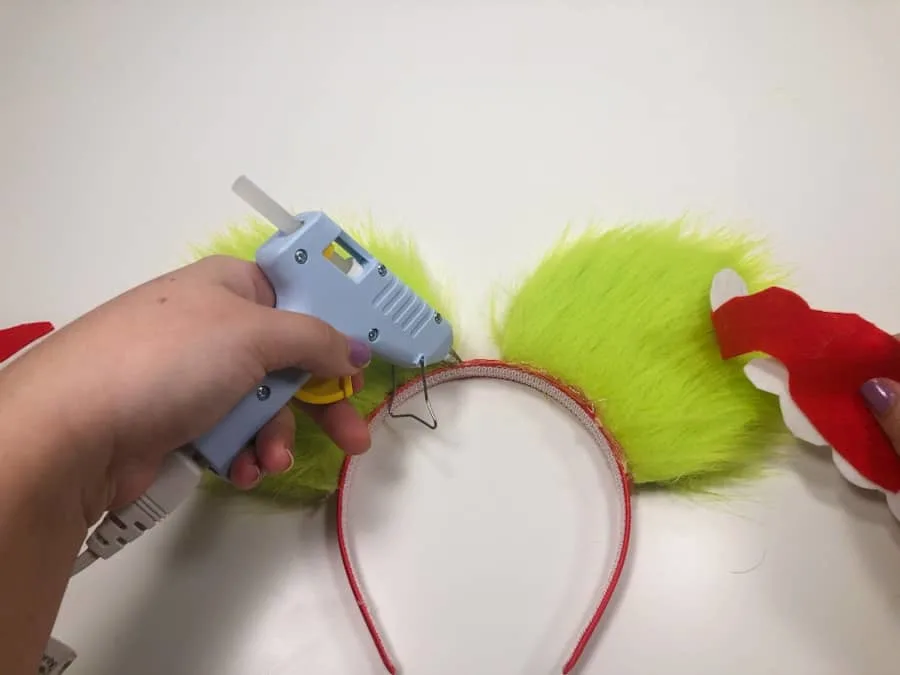
- Fold back the bottom of each ear and spread a generous amount of hot glue across the bottom. Press firmly in place on the headband. Repeat for the the second ear.

- Glue the two hats together with the white felt pieces on top. Make sure the tail of each hat is facing the opposite direction.
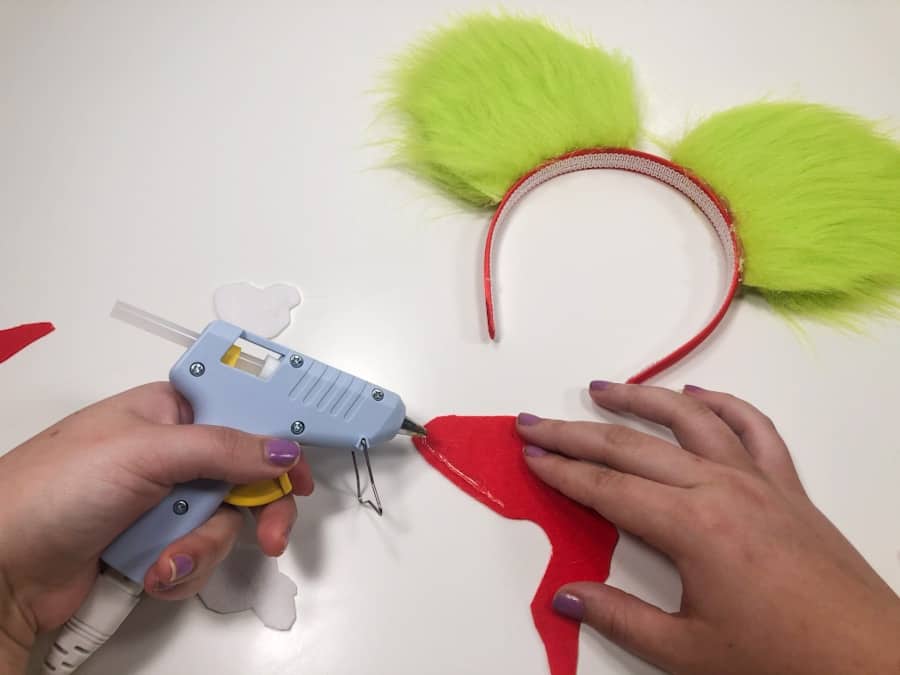

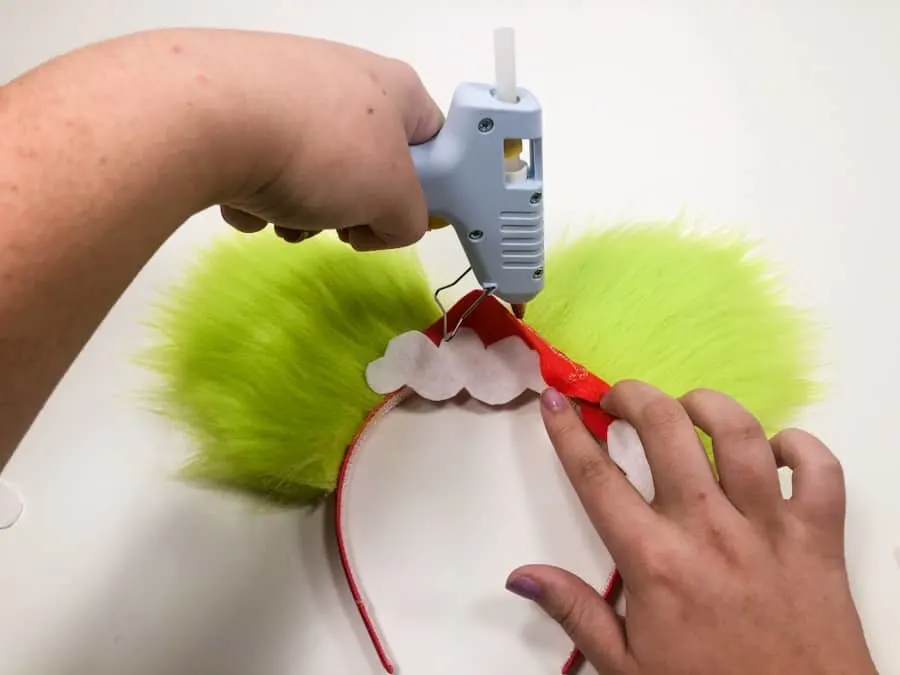
- Glue one hat to the front of the headband and one in the back so that they line up like the front and back of a single hat.

- After they glued in places, pull the edges back that are over fur and put some glue onto the felt, then press back down into the fur.

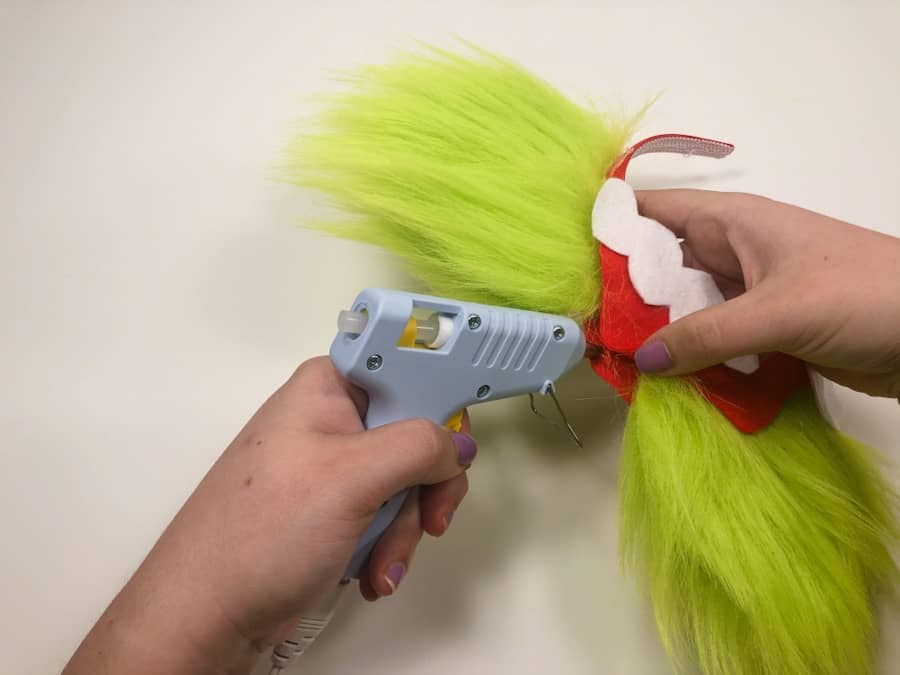
- Glue the hat tops together to create the point of the hat. If the pom poms make it past the outer edge of an ear, glue those together as well.

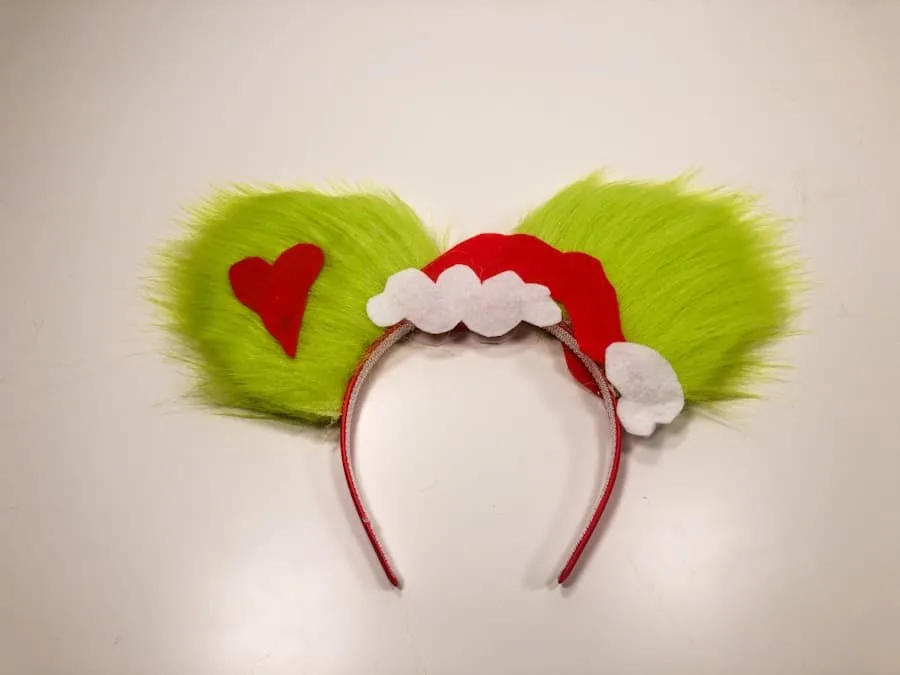
- Lastly, spread hot glue on the back of the heart, and press into the fur of one ear.


- Trim any excess fur if necessary.

Disney Crafts
Do you enjoy making Disney Crafts. We are adding to our collection all the time!
Why not try our Disney Tangled DIY Candle Lanterns? Or if you are looking for more ears try these Disney Cruise Ears DIY.
If you are looking for Christmas Ornaments check out this adorable Disney Stitch Ornament and cute Mickey Christmas Ornament.
Enjoy!


Alison Meacham is the founder of EverythingMouse Disney Blog. For over 15 years she has shared her love of Disney Parks, Disney Cruises and Universal Orlando. In over 30 years of Disney Travel she has spent countless months in Disney Parks and has sailed on over 60 cruises. A British native and now a United States resident she splits her time between California, Florida and the UK. And spends a serious amount of time sailing the seven seas. She helps over 250,000 people per month follow their Disney travel dreams.